


We’ve got you covered if you’re looking for the SSD in your Dell XPS desktop tower. As an owner of this impressive machine, I had to do a little digging to locate it.
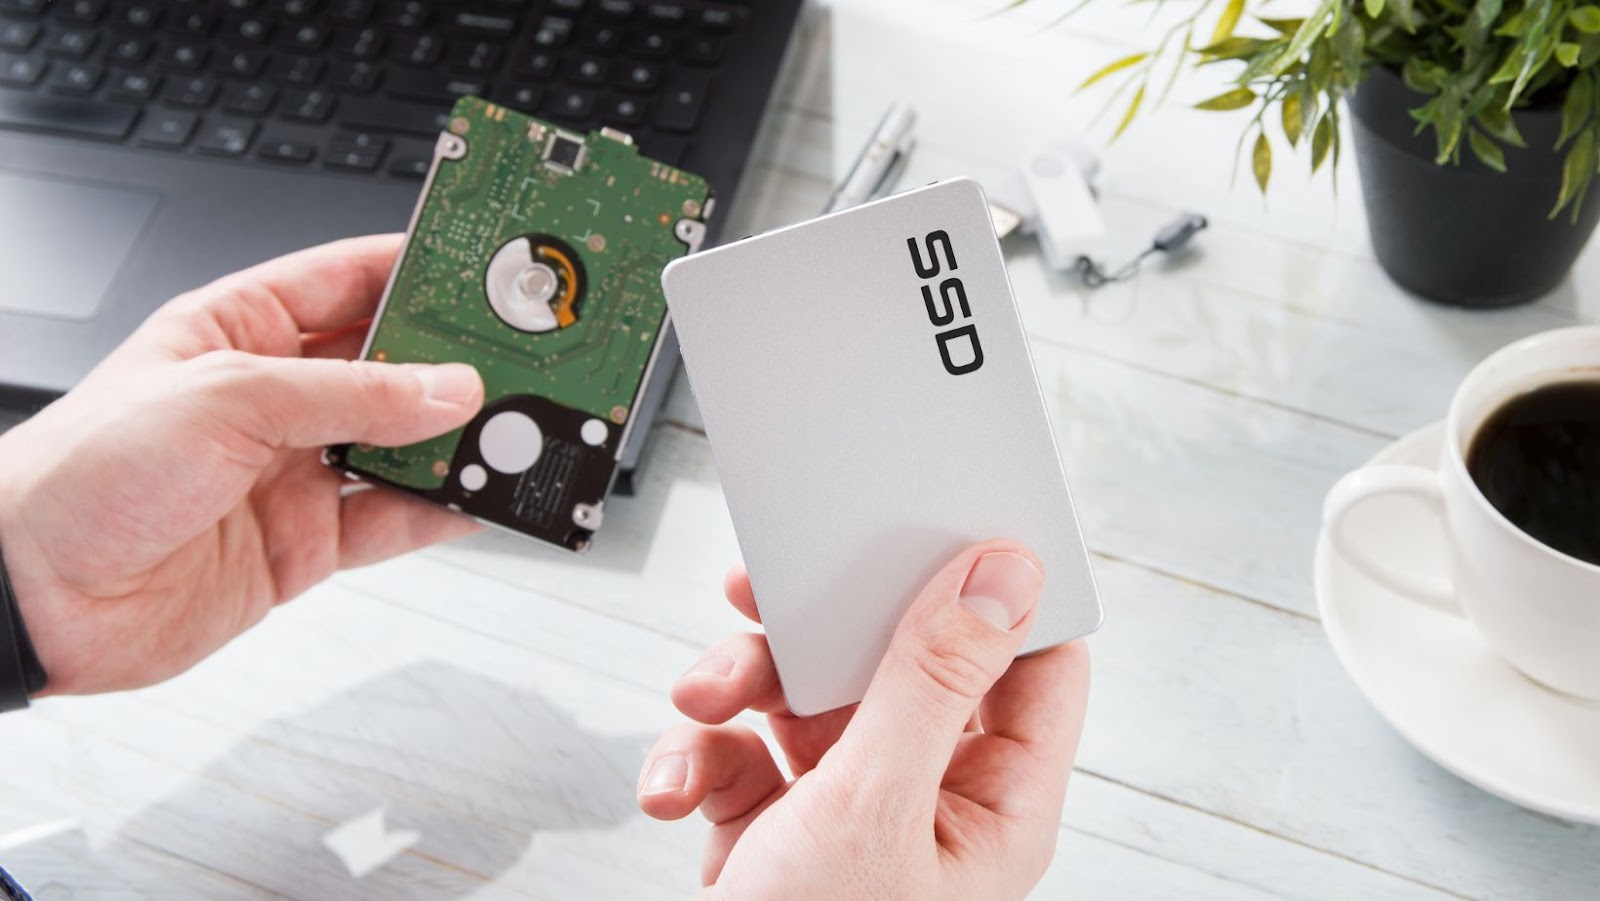
The SSD in the Dell XPS desktop tower is typically located at the bottom of the case, near the power supply unit. It’s easy to spot thanks to its distinctive shape and size. For those unfamiliar with an SSD, it stands for solid-state drive, a storage device that uses flash memory to store data.
To access the SSD in your Dell XPS desktop tower, you’ll need to disconnect the power cable and other cables from the back of the machine. Then, you’ll need to unscrew the screws at the back of the case and slide the side panel off. From there, you can spot the SSD at the bottom of the case.

Locating the SSD in a Dell XPS Desktop Tower
If you want to upgrade your Dell XPS Desktop Tower storage, you may wonder where to locate the SSD. In most Dell XPS models, the SSD can be found in the M.2 slot on the motherboard.
Here are the steps to locate the SSD in a Dell XPS Desktop Tower:
- Power off the Dell XPS Desktop Tower and unplug all cables.
- Remove the side panel of the tower by unscrewing the screws on the back of it.
- Locate the M.2 slot on the motherboard. It is usually located near the CPU socket or the SATA ports.
- The SSD looks like a small rectangular circuit board, typically measuring 22mm by 80mm, and it will be inserted into the M.2 slot at a slight angle.
- Gently insert the SSD into the slot and push it down until it clicks into place.
- Replace the side panel and screws, and plug in all necessary cables.
It’s essential to note that not all Dell XPS models are the same, so the location of the SSD may differ. Therefore, consulting the user manual or contacting Dell customer support for specific instructions on locating the SSD in your model is best.
In conclusion, locating the SSD in a Dell XPS Desktop Tower is a simple process that involves opening the side panel of the tower and finding the M.2 slot on the motherboard. With these steps, you should be able to upgrade your storage with ease.
Steps to Find and Replace the SSD in Dell XPS
If you’re looking to replace or upgrade your Dell XPS desktop tower’s SSD, you’ll need to familiarize yourself with the location of the SSD first. Follow these steps to find and replace your Dell XPS desktop tower SSD:
- Shut down your Dell XPS desktop tower and disconnect all cables and peripherals.
- Open the desktop tower’s case panel, typically located on the left-hand side when viewed from the front.
- Locate the hard drive tray, which will hold both the hard drive and the SSD. The SSD is typically smaller in size compared to the hard drive.
- Once you identify the SSD, disconnect any cables if necessary.
- Remove the SSD from the hard drive tray.
- If you are replacing your SSD with a new one, ensure it is compatible with your Dell XPS desktop tower. Typically, the best option is to consult your computer’s manual or the product website for compatibility.
- Install the new SSD into the hard drive tray, ensuring it is securely in place.
- Reconnect any necessary cables.
- Close the desktop tower’s case panel and reconnect all cables and peripherals.
- Turn on the computer to see that the system recognizes the new SSD.
Remember that replacing any internal component of a desktop tower requires some technical expertise. If you are unsure about the process or need additional assistance, consult Dell’s support website or contact customer service directly.
In summary, finding and replacing the SSD in your Dell XPS desktop tower requires you to open the tower case panel, locate the hard drive tray, identify the SSD, disconnect cables if necessary, remove the SSD from the tray, install the new SSD, and finally reconnect all cables and peripherals, and check system recognition.
Dell XPS Desktop Tower Where Is SSD
Are you ready to give your Dell XPS desktop tower a speed boost? Upgrading to a solid-state drive (SSD) is the way to go. You might be wondering, though, where exactly is the SSD in your XPS desktop tower?
Most Dell XPS desktop towers have the SSD in a 2.5-inch drive bay. Inside the storage compartment, you can find this drive bay toward the bottom of the tower.
Upgrading your Dell XPS desktop tower’s SSD may seem daunting, but it’s simple. Here are the basic steps you need to follow:
- Shut down your Dell XPS desktop tower and disconnect it from the power source.
- Open up the tower’s case by removing the side panel or panels.
- Locate the existing SSD, which should be connected to the storage compartment using a SATA cable.
- Carefully disconnect the SATA cable from the existing SSD and remove it from the drive bay.
- Install the new SSD in the drive bay and connect it to the storage compartment using the SATA cable.
- Close up the tower’s case, reconnect it to the power source, and power it on.
- Follow the manufacturer’s instructions to format the new SSD and install your operating system.
It’s important to note that the actual steps for upgrading your Dell XPS desktop tower’s SSD may vary depending on the model you have. Check your owner’s manual or contact Dell’s customer support for specific instructions.
Upgrading your Dell XPS desktop tower’s SSD can significantly improve performance and speed up load times. Don’t be intimidated by the process – with just a few simple steps, you’ll have a faster, more reliable computer in no time.
Conclusion:
Depending on the specific model, the Dell XPS desktop tower’s SSD can be located in two different areas. If you have a Dell XPS tower with a single hard drive, the SSD is likely installed in a PCIe slot on the motherboard. On the other hand, if you have a Dell XPS desktop tower with dual storage options, the SSD is mounted on the back of the power supply unit.
It’s important to note that locating the SSD in your Dell XPS desktop tower requires some technical expertise. If you need clarification about your computer’s specific model or the SSD’s location, you can always contact Dell technical support for assistance. Additionally, it’s crucial to handle computer components with care and proper anti-static protection to prevent damage.
In summary, whether you have a single or dual storage option on your Dell XPS desktop tower, the SSD can be located either on the motherboard or on the back of the power supply unit. By understanding the different locations and following proper handling procedures, you can effectively maintain and upgrade your computer’s storage to enhance its performance.
Leave a Reply