


If you own the Dell XPS 8700 X8700-3135BLK Desktop and are wondering where to plug in your HDMI cable, you have come to the right place. As an expert on this topic, I assure you that the process is simple.
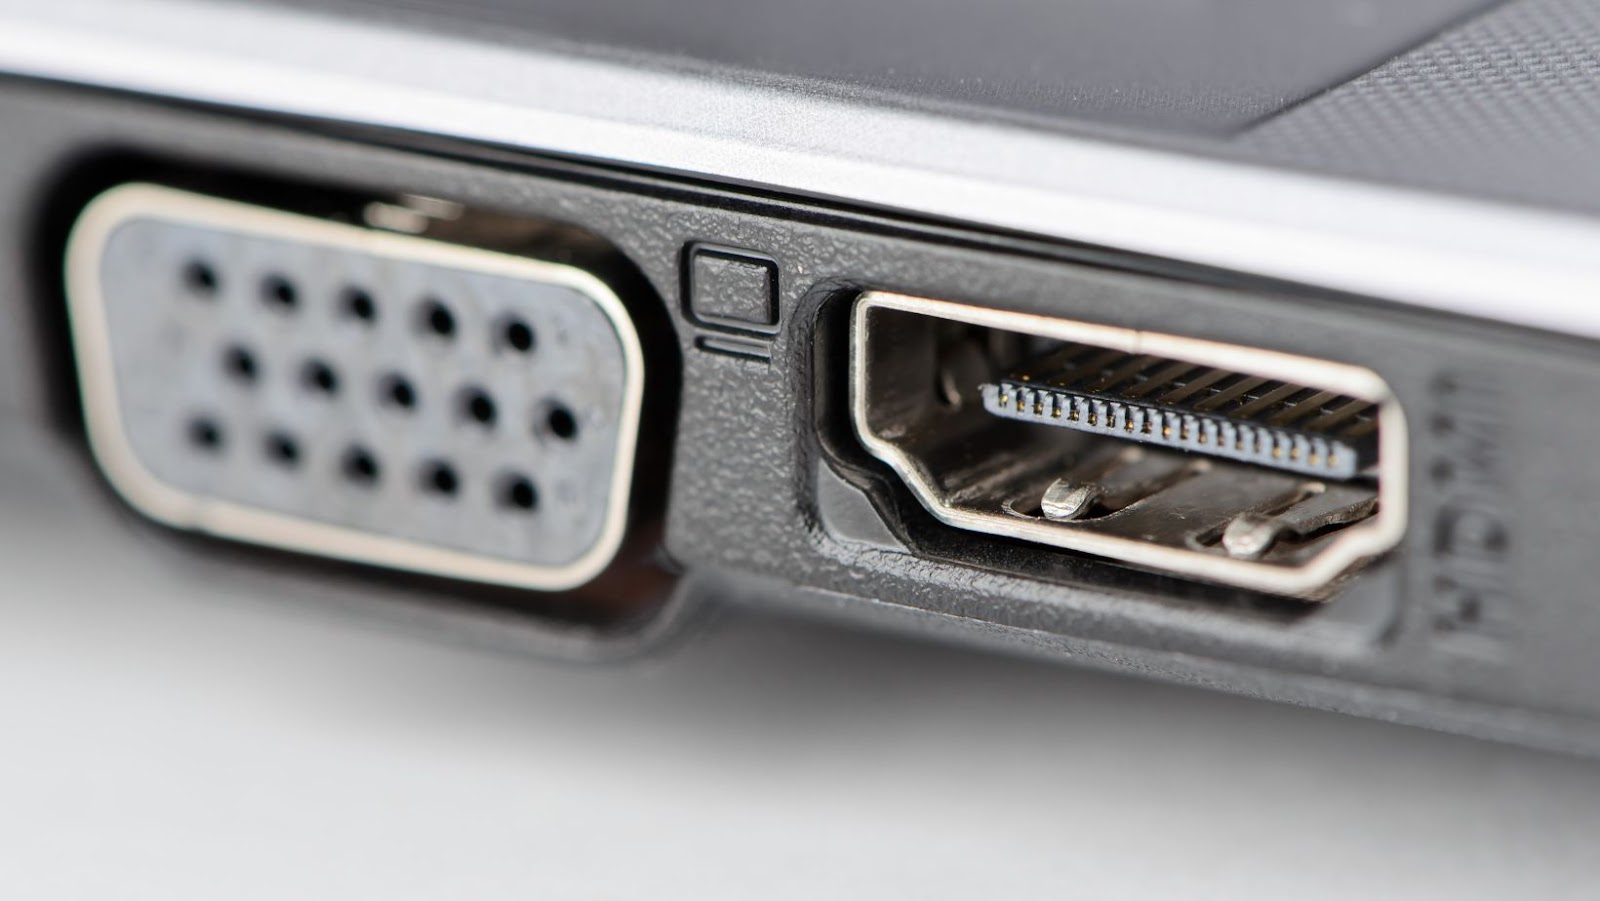
To begin, locate the HDMI port on the back of your desktop tower. The XPS 8700 model typically has several ports, so it is important to identify the correct one. The HDMI port on this desktop is usually labeled with “HDMI” above it.
Once you have located the HDMI port, simply connect the HDMI cable from your external device to the port on your desktop tower. Ensure that the cable is securely connected on both ends. Now, you can enjoy viewing your device’s content on your Dell XPS 8700 X8700-3135BLK Desktop.

Dell XPS 8700 x8700-3135blk Desktop Where Do I Plug In My HDMI
You’re not alone if you’re wondering where to plug in your HDMI cable on your Dell XPS 8700 X8700-3135BLK desktop. The process may seem daunting initially, but with a little know-how, it’s easy to find the HDMI port on your computer.
To locate the HDMI port on your Dell XPS 8700 desktop, follow these steps:
- Turn your computer around so that the back is facing you.
- Locate the video card ports. They should be near the bottom of the tower.
- Look for a small, rectangular port labeled “HDMI”. It should be next to the other video card ports.
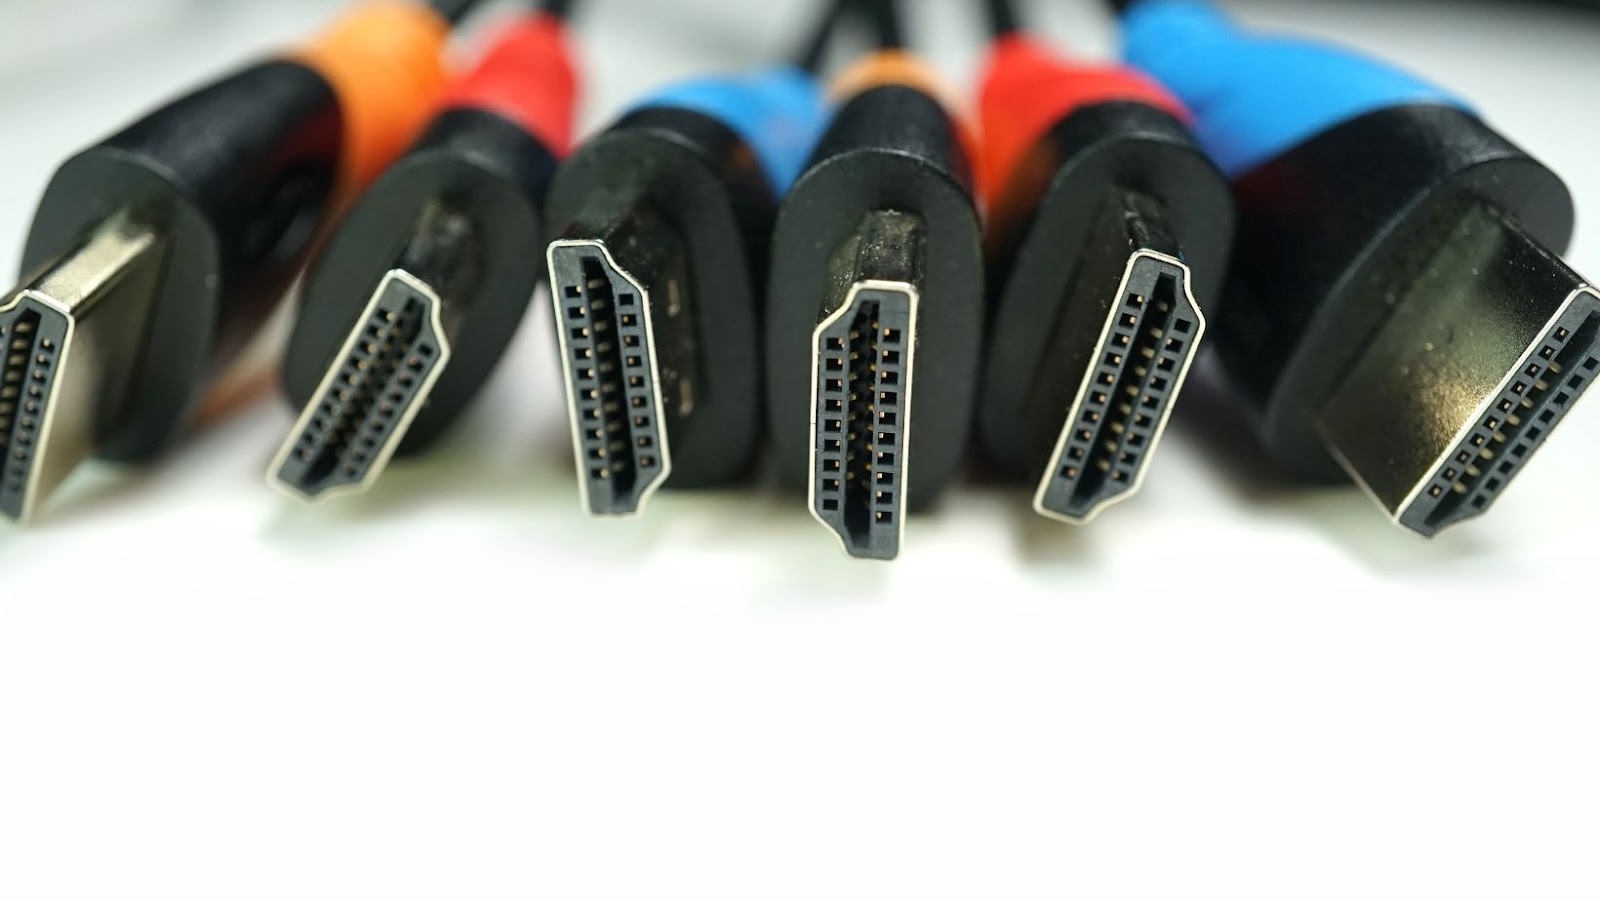
Once you locate the HDMI port, simply insert one cable end into the port. Then, connect the other end of the cable to your HDMI-compatible device, such as a TV or monitor.
It’s important to note that not all Dell XPS 8700 models may have an HDMI port. Sometimes, you may need to use an adapter or a different cable to connect your computer to an external display.
In conclusion, locating the HDMI port on your Dell XPS 8700 X8700-3135BLK desktop is simple. Following these steps lets you connect your computer to an external display quickly and easily.
Connecting HDMI to Dell XPS 8700 Desktop
If you’re wondering where to connect your HDMI cable to your Dell XPS 8700 desktop, you’ll be happy to know it’s straightforward. Follow these steps:
- Locate the HDMI port on your PC. It’s typically located on the back of the tower along with other ports.
- Insert one end of your HDMI cable into the port on your PC. Be gentle but firm to ensure a secure connection.
- Insert the other end of your HDMI cable into the HDMI port of your monitor or TV. If you have multiple HDMI ports, choose the correct one.
- Turn on your monitor or TV and switch the input source to HDMI. This is usually done by pressing the “Input” or “Source” button on your remote control or monitor.
- Turn on your Dell XPS 8700 desktop and wait for it to boot up.
- Your PC should now automatically detect the connected monitor or TV, and the display should appear on your screen.
It’s important to note that not all Dell XPS 8700 models may have an HDMI port. If you’re unsure if your desktop has one, check the specifications of your specific model on Dell’s website or consult the user manual.
In conclusion, connecting your HDMI cable to your Dell XPS 8700 desktop is simple. Locate the
HDMI port on your PC, insert the cable, connect it to your monitor or TV, and switch the input source to HDMI. Enjoy a high-quality display for all your multimedia needs.
If you’re having trouble with the HDMI connection on your Dell XPS 8700 desktop, you can try a few troubleshooting steps.
First, make sure you’re plugging the HDMI cable into the correct port. There are several ports on the back of the Dell XPS 8700 X8700-3135BLK desktop. Look for the one labeled “HDMI” or with the HDMI logo next to it. It should be located towards the bottom of the back panel.
If you’re still not getting a signal, try swapping out the HDMI cable with a different one. Sometimes cables can become damaged or develop faults over time. Additionally, make sure the cable is fully plugged in on both ends.
If none of these steps work, try updating your drivers. Sometimes outdated or faulty display drivers prevent your HDMI connection from working properly. Instead, go to the Dell website, enter your computer’s Service Tag or express service code, and then download and install the latest graphics card driver.
If you’re still having trouble, there may be an issue with your HDMI port or graphics card. In this case, you may need to contact Dell support or bring your computer to a professional for repairs.
Remember that these steps are relatively simple and may not solve all HDMI connection issues. However, they’re a good starting point and can help you rule out some common causes of problems.